Difference between revisions of "ESP8266"
(Add images of soft/hard switches and programming jig) |
(add Category:diy) |
||
| Line 106: | Line 106: | ||
[[Category:HomeAmation]] | [[Category:HomeAmation]] | ||
[[Category:IoT]] | [[Category:IoT]] | ||
| + | [[Category:diy]] | ||
Revision as of 13:22, 24 January 2021
Contents
ESP8266
My ESP8266 adventures history
- 14 July 2016 - Ohh snap! Discovered homie arduino / MQTT goodness for ESP8266. Implemented mqttwarn to rewrite topics
- 12 July 2016 - Began working with Nodemcu using esplorer
- 19 September 2015 connected a ESP8266-01 to an arduino as a serial terminal.
Resources
- Sonoff-Tasmota Esptool
- Decent writeup on FTDI config with RTS and DTR
- mqttwarn
- Arduino for ESP8266 implementation of Homie
- Arduino core for ESP8266
- ESPLorer
- Terminal com port development tool
- ESP8266 at Electrodragon
- Good command reference
- Esp8266 – Windows compilation tutorial for n00bs
- NURDs ESP8255 Added 12/2/2015
- ESP8266 community forum Added 12/2/2015
Arduino as serial terminal
/*
jha 9/9/2015

eXperiment with Esp8266
Use the arduino as a terminal to check / program the ESP8266
found the soft serial code here: https://www.arduino.cc/en/Tutorial/SoftwareSerialExample

"Works on my machine"

*/

#include <SoftwareSerial.h>

SoftwareSerial mySerial(10, 11); // RX, TX

void setup() {

  Serial.begin(115200);
  mySerial.begin(115200); // the ESP8266 I bough on Amazon defaulted to 115,200 baud rate.

}

// the loop function runs over and over again forever
void loop() {

   if (mySerial.available()) {
    Serial.write(mySerial.read());
  }
  if (Serial.available()) {
    mySerial.write(Serial.read());
  }
}
Change and save default baud rate
I want to lower the baud rate because the arduino doesn't keep up with 115200 in the soft serial. I tried to issue the command "AT+UART_DEF=9600,8,1,0,0" to change and SAVE the baud rate but couldn't due to the unreliability of the soft serial at that speed. I was able to change the current baud rate (a shorter string) with "AT+CIOBAUD=9600" Then change baud rate for mySerial in the code, and then write with: "AT+UART_DEF=9600,8,1,0,0" Don't disturb the power while doing this. Then check by disconnecting power and restarting with the terminal set to 9600.
Find some SSIDs
ready
AT


OK
AT+CWMODE=3


OK
AT+CWLAP

+CWLAP:(4,"ADP",-39,"b4:75:0e:60:c2:3a",6)
+CWLAP:(4,"ADP_EXT_Desk",-57,"e6:f4:c6:d7:84:00",6)
+CWLAP:(3,"WindyCity",-90,"a4:2b:8c:8f:31:f6",7)
+CWLAP:(3,"Myrcenary",-82,"24:a2:e1:f1:99:1a",11)
+CWLAP:(4,"CenturyLink2902",-81,"20:76:00:5a:eb:d5",11)

OK
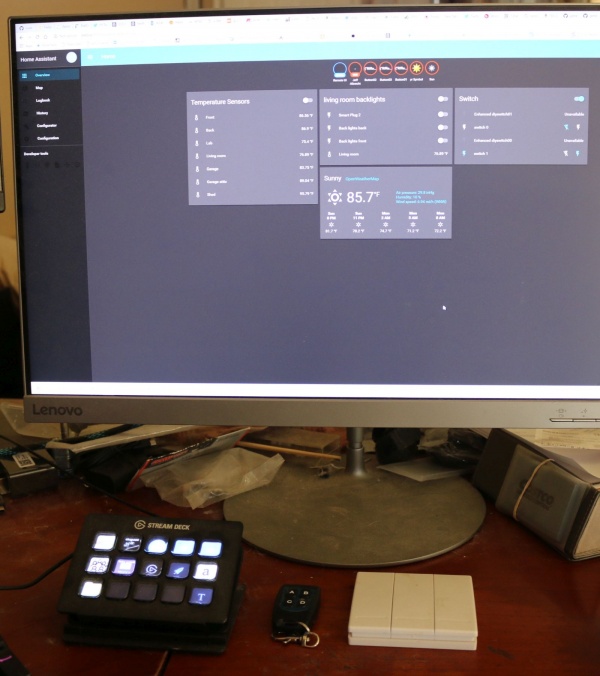
Home Assistant
- RF Key fob push button
- RF push buttons
- Stream Deck
- Home Assistant web interface
Sonoff / Tasmota
mosquitto_pub -t cmnd/sonoff/ipaddress -m ''
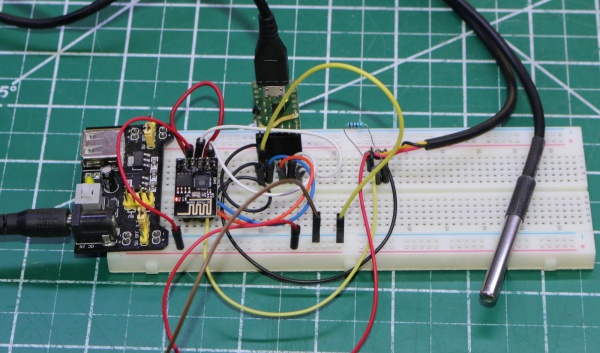
Flash esp-01
esptool.py
esptool.py --port COM21 flash_id
esptool.py --port COM21 erase_flash
esptool.py --port COM21 write_flash 0x1000 .\sonoff.bin
esptool.py --port COM21 write_flash -fs 1MB -fm dout 0x0 sonoff-classic.bin

